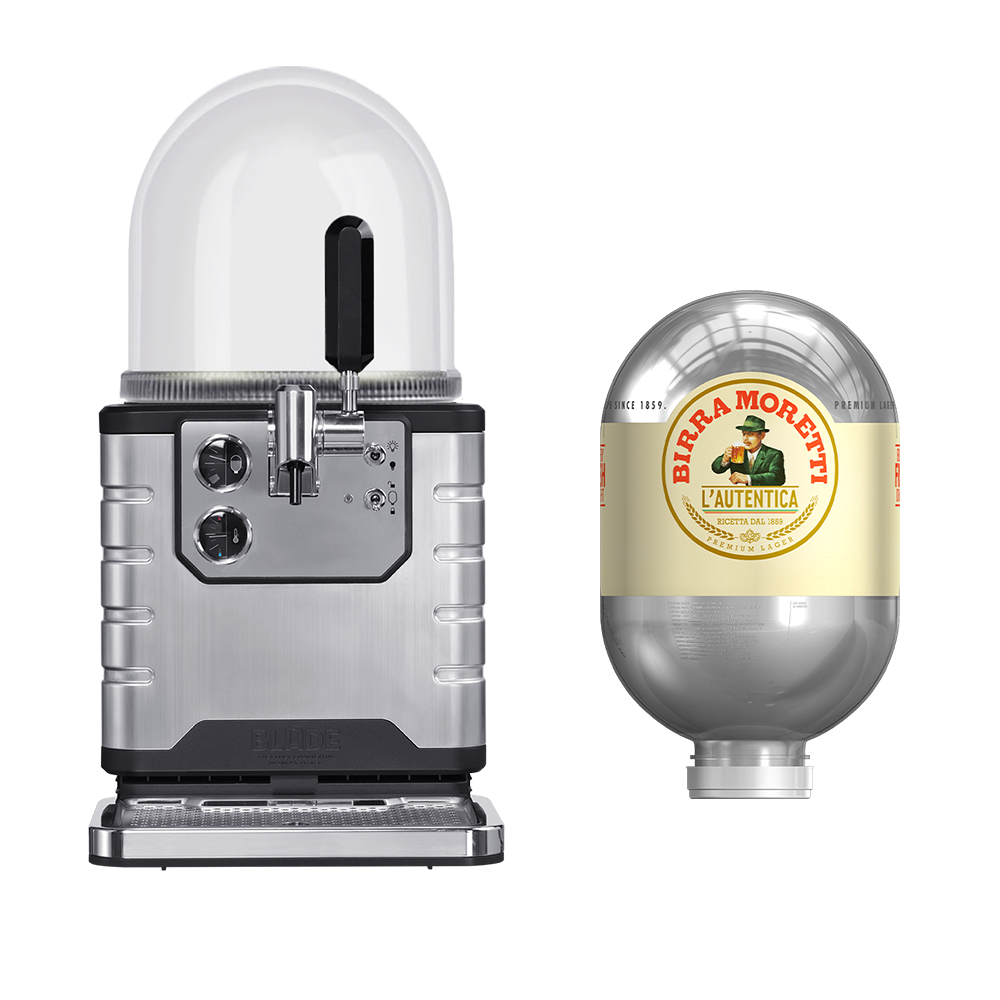
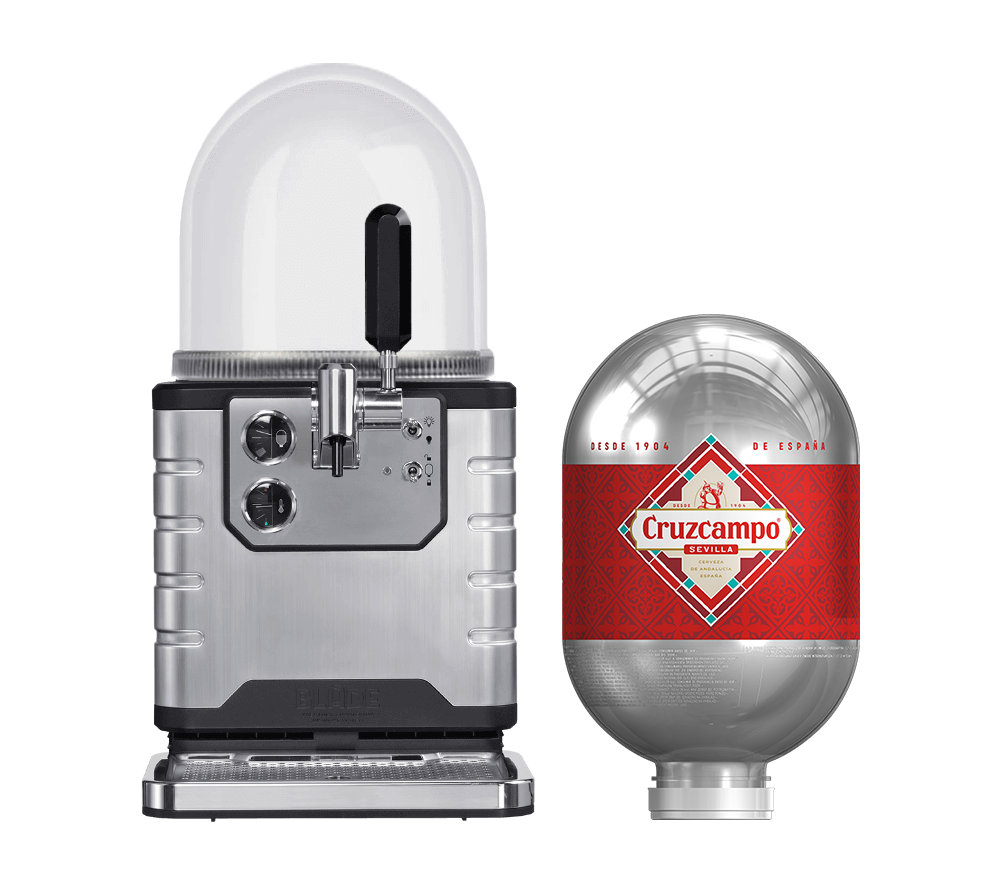
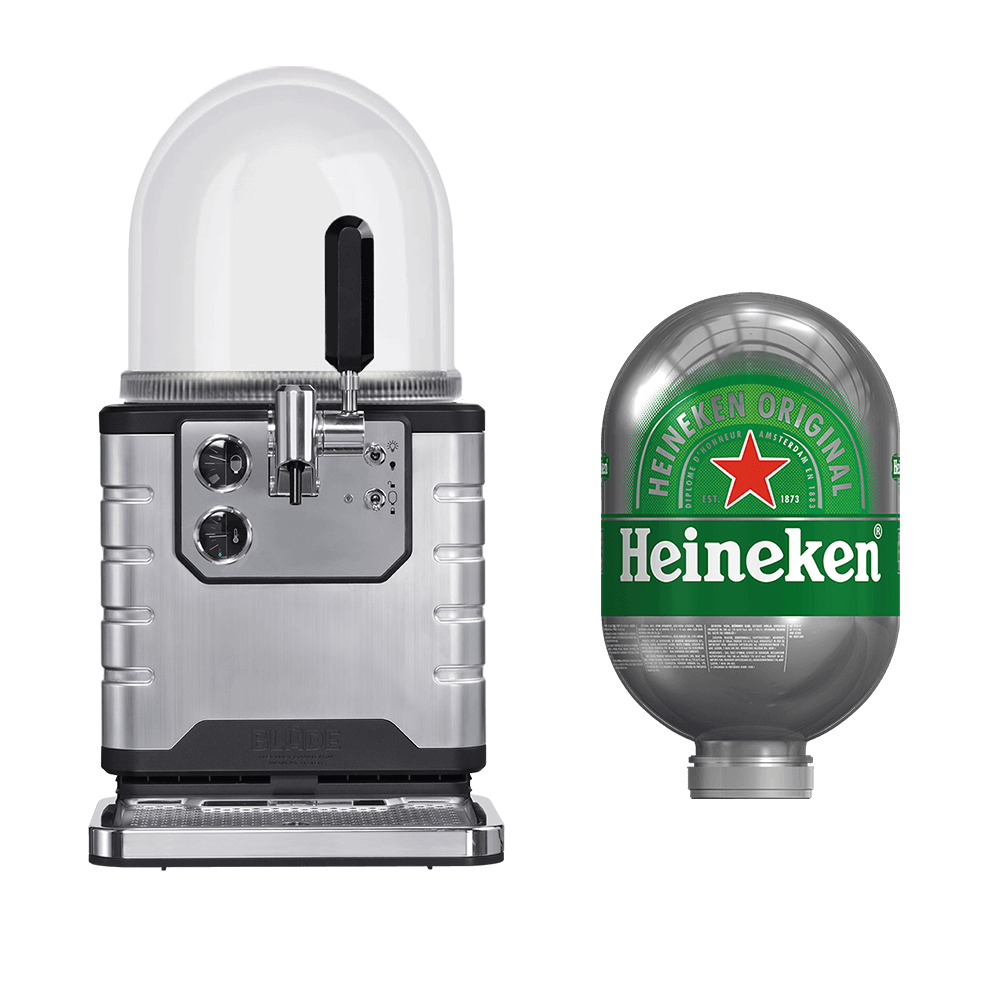
Installing the BLADE beer machine couldn't be simpler. All you need is a countertop with an electrical outlet nearby. No CO2, extra cooling device or external hardware required. Everything you need to pour fresh, pub-quality pints at home has been designed into this premium piece of kit. So, keep reading to get set up and start pouring like a pro in no time.
FINDING THE BEST PLACE FOR YOUR BLADE BEER MACHINE
To ensure the BLADE beer machine operates smoothly and safely, it’s important to set it up in the right location. Choose a sturdy, level surface that can support the machine’s weight and is both heat and water-resistant. Position it somewhere with easy access to the power plug so you can quickly unplug it if needed. For optimal performance, keep the machine in an environment with a temperature between 10°C and 38°C and a maximum relative humidity of 75%. Following these guidelines will help make sure you can enjoy trouble-free brews at home.
SET UP & ASSEMBLY
Once you’ve found the perfect spot for your BLADE, it’s time to start setting it up. Your BLADE comes in two boxes: the machine and the dome. After unboxing the appliance, leave it to rest for around 2 hours. Meanwhile, you can attach the tap handle and mount the drip tray.

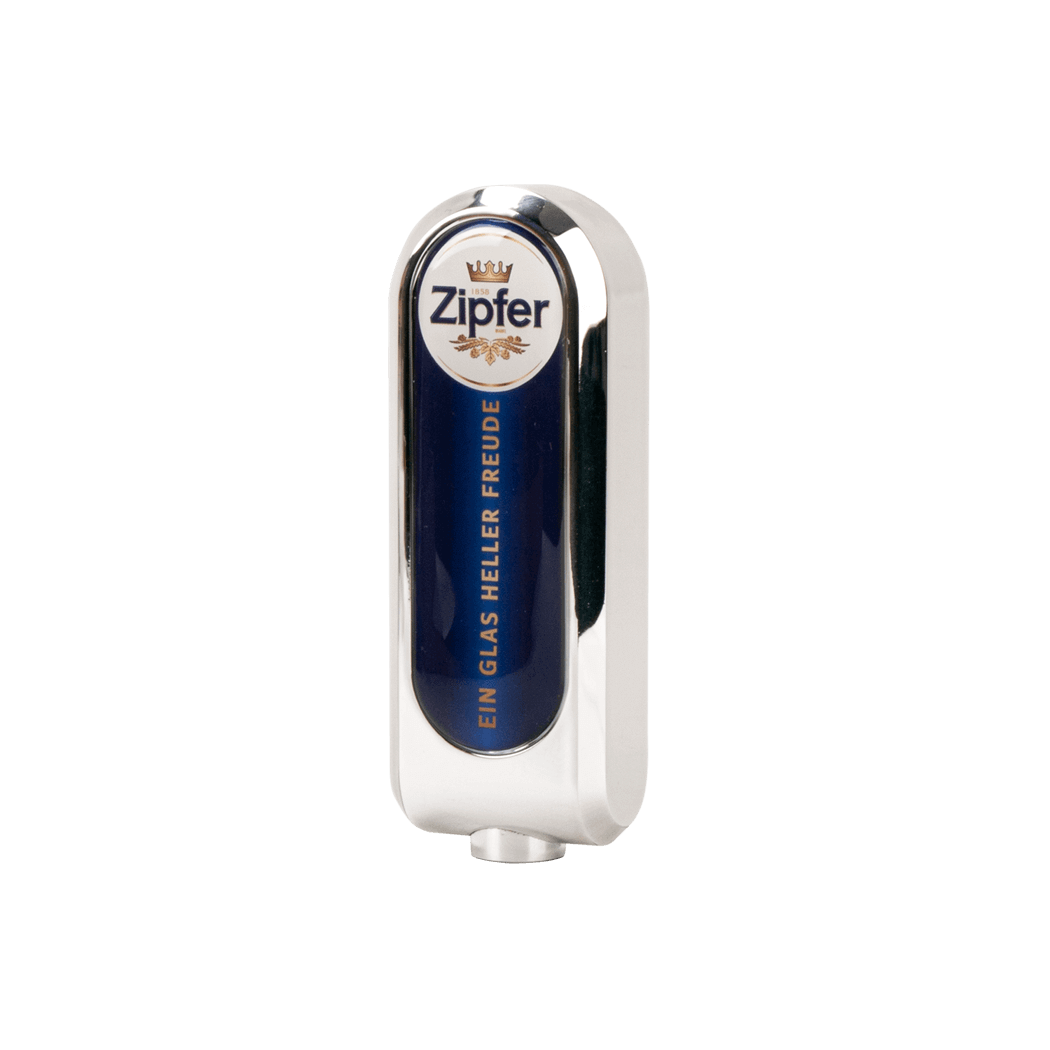
Attaching the tap handle to the BLADE beer machine
-
Attach the tap handle shaft to the threaded turning mechanism on the right of the beer tap.
-
Tighten the shaft securely using the provided spanner.
-
Push the tap handle onto the shaft as far as it will go, ensuring alignment with the front of the machine.
-
Use the supplied screwdriver to tighten the grub screw on the underside of the handle.
-
Ensure the handle is firmly secured and cannot rotate.

Mounting the drip tray to the BLADE beer machine
-
Position the drip tray base with the drip tray cover in front of the appliance.
-
Push it gently forwards until it clicks into the operating position.
-
Now, simply plug in the pre-connected power cord (double check the base of the appliance isn’t placed on top of the cord, as this could create an insecure positioning).
HOW TO INSERT A BLADE KEG
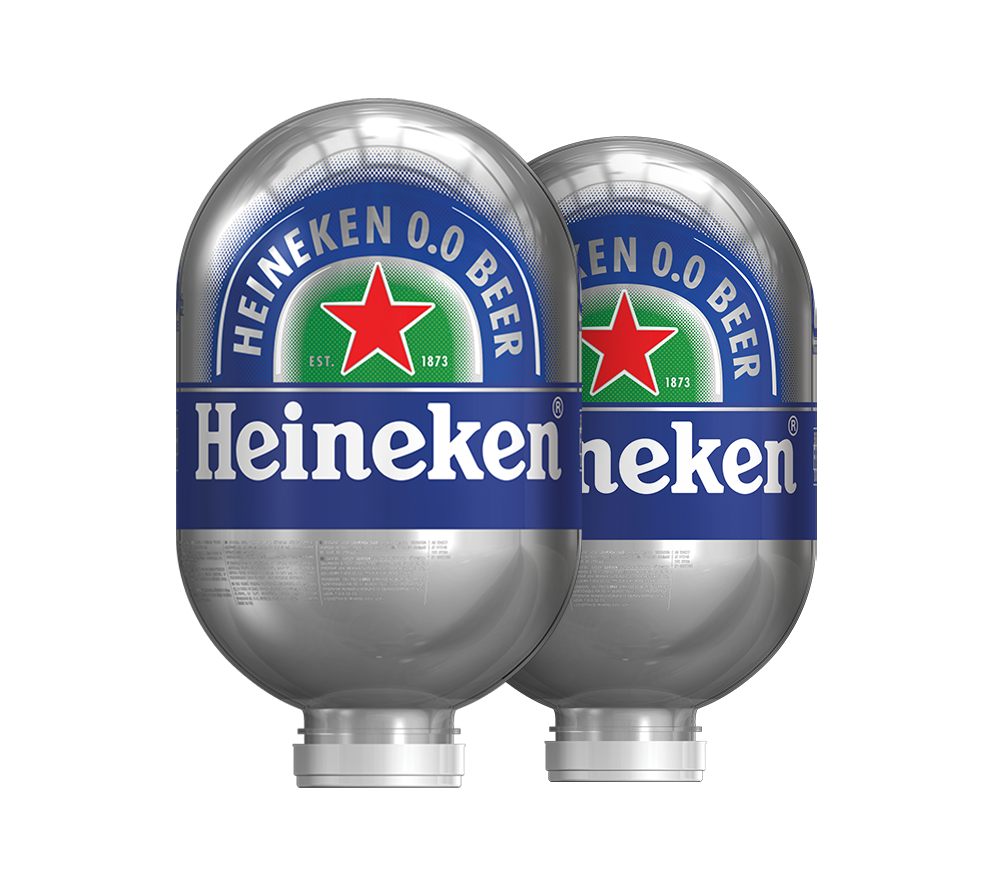
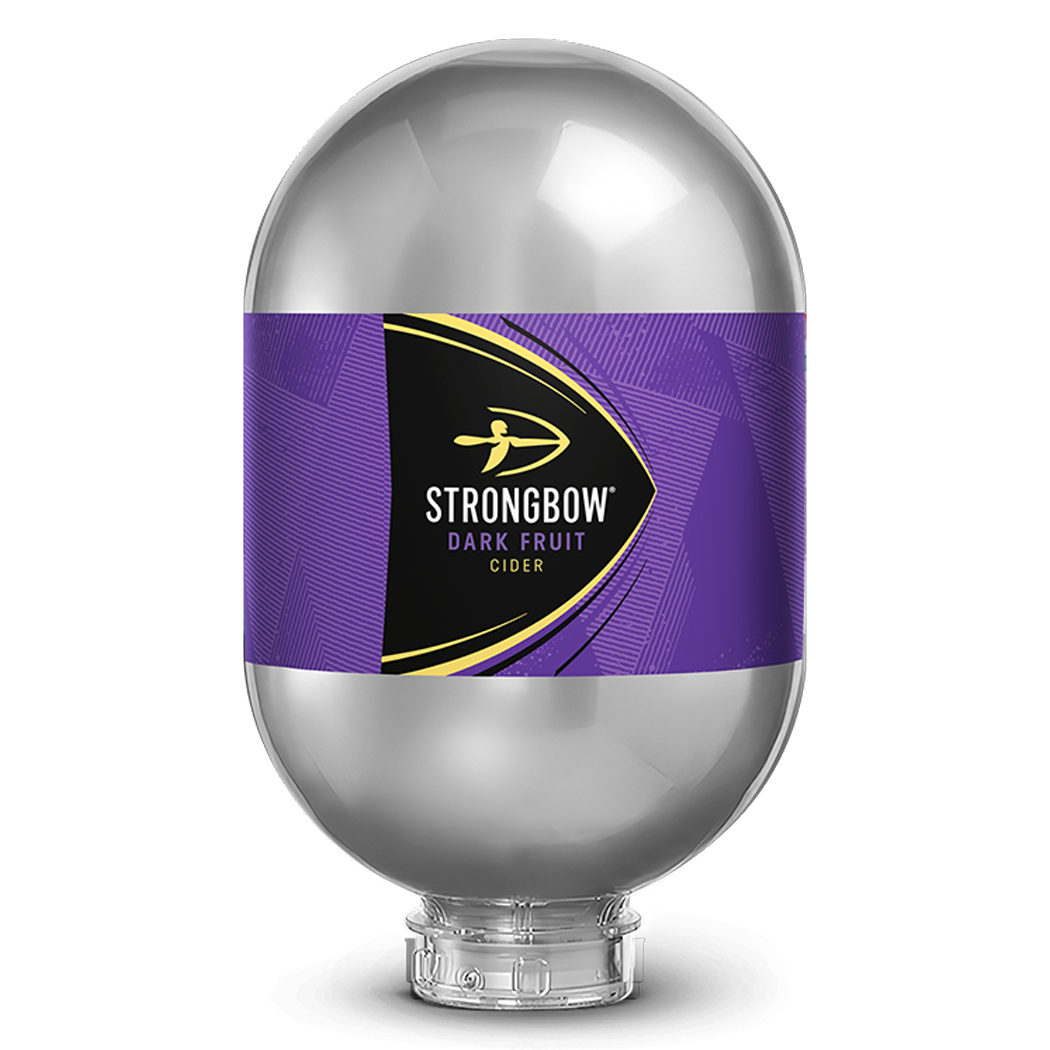
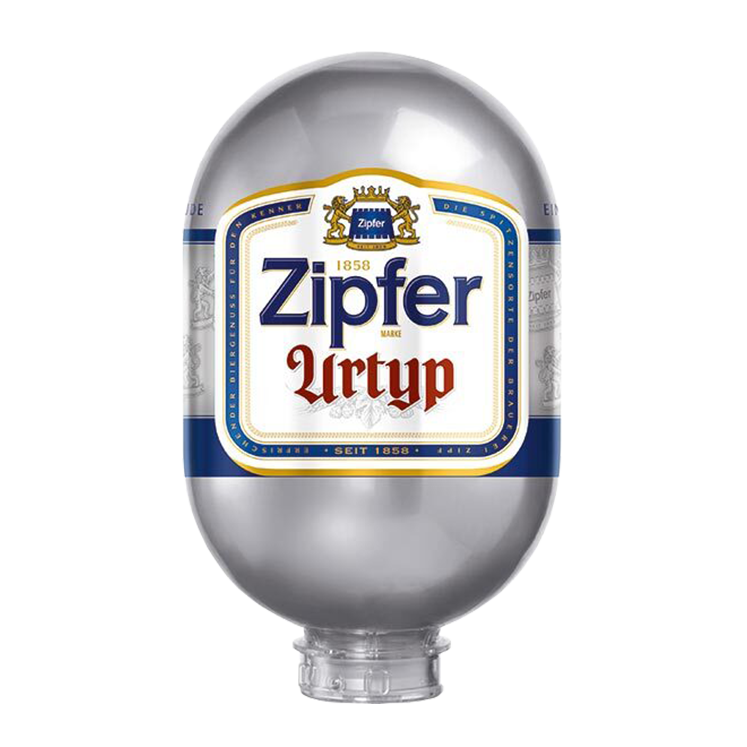
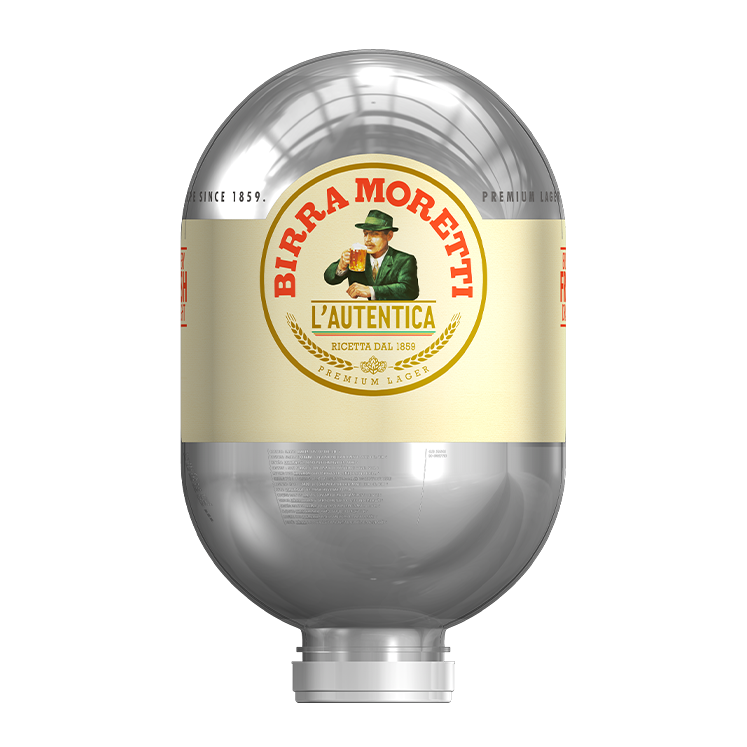
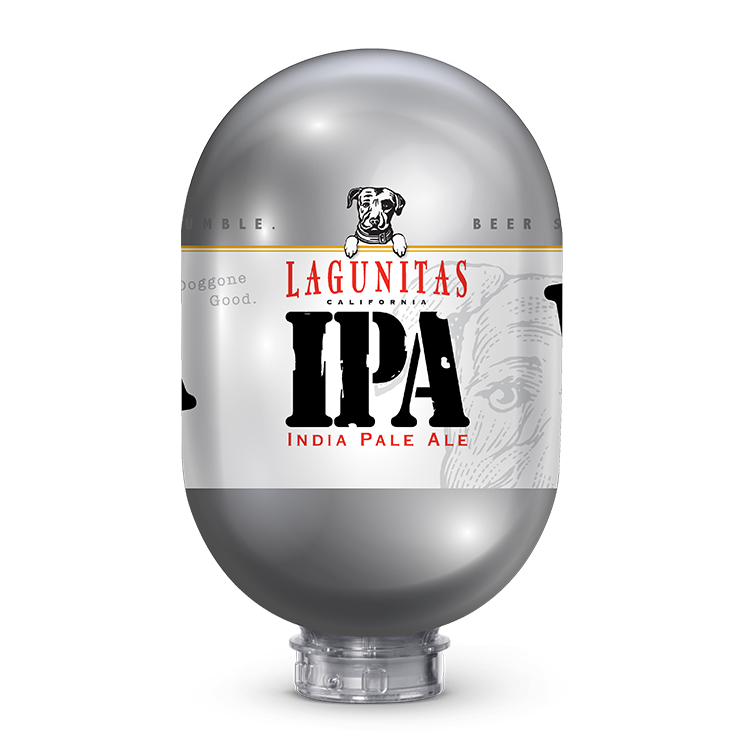
Make sure you pre-cool your BLADE kegs for at least 16 - 24 hours before inserting them into your machine. When it’s nice and chilled:
1. Press the orange button
Fully unwind the beer tube from around the neck of the cap and press the orange button until you hear a ‘click’.


2. Connect your BLADE keg
Open the tap cover and guide the keg carefully into the cooling bowl, holding it vertically. The tube should be at the front of the keg and facing towards the front of the machine. Give it a gentle twist to make sure it’s properly in place.
Ensure the keg’s tube is correctly inserted and aligned to the orange groove. Use your thumb to firmly press the lower black part of the valve into the metallic valve holder to secure it.
Flip the tap cover upwards until it locks in place. If it springs back, check the positioning of the beer tube and valve. Finally, remove the red cap.


3. Place the dome on top
Place the dome over your BLADE. This helps keep your brews nice and cool and makes it possible to light up the appliance. Just flick the switch with the lightbulbs to the side!


4. Switch on your BLADE
Turn on the machine by pressing the ON-OFF switch to the right.


5. Lock the keg
Flick the switch down to lock the keg into your BLADE. The indicator light should turn a solid green.
The keg is now locked in, and you’ll hear the pump generating positive pressure in the keg. After around 30 seconds, the pump will switch off and the cooling fan should be the only thing that you can hear.


6. Check the temperature
Use the temperature gauge to make sure the beer has reached the right temperature before pouring.


You’re now ready to pour like a pro!
If it’s your first time pouring fresh, pub-quality beer at home, get some pointers on how to pour the perfect pint with BLADE. After some practice and a couple of cold ones, you’ll be ready to move on to your next keg. If you’re not sure how to change a BLADE keg, you can find out by reading our handy guide.


